Mixing Epoxy
A Step-by-step guide to Measure and Mix
Epoxy Resins
The proper use of epoxy resin and the hardeners is crucial in ensuring that epoxy cures properly. Whether you are using Art Epoxy, Table Top Epoxy, Casting Epoxy or Deep Casting Epoxy, mixing and measuring the Epoxy correctly is very important and can either let you project succeed or fail.
Follow the next steps carefully to ensure that you get a perfect mix of the resin and hardener. Mixing Resin and hardener must be handled carefully because the chemical reaction of Epoxy and Hardener can react in various ways.
Step 1 – Follow the Manufacturers Instructions
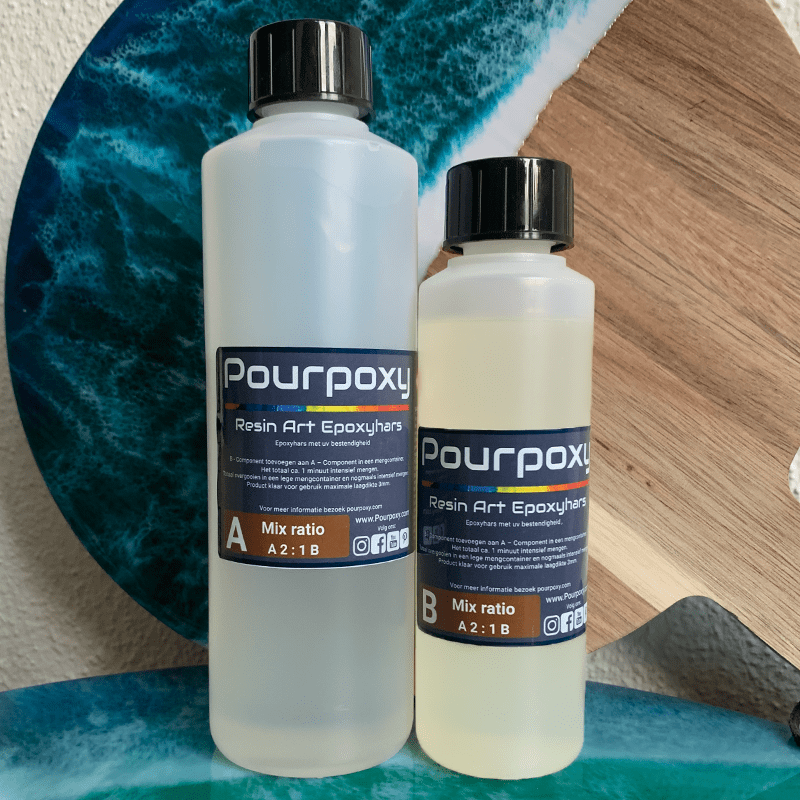
When you buy Epoxy Resin, it normally comes in two separate containers which consists of a Part A (The Epoxy Resin) and Part B (The Hardener). These ingredients are specially developed for special circumstances. It is very Important that you read the labels that comes with the Epoxy Resin to ensure you use it for the correct application, but that you also know exactly how to mix the two part.

Mixing the Epoxy Resin and hardener must be done exactly by the prescription of the manufacturer. Not following these instructions can create an epoxy reaction which can be dangerous to you.
The Manufacturer will Indicate on the Container Label of the Epoxy resin how much of each part should you add to the mixture.
This mixing Ratio for Pourpoxy Epoxy Resin is as follows:
- Art Epoxy – Part A: 100 Part B: 60
- Table Top Epoxy – Part A: 100 Part B: 60
- Casting Epoxy – Part A: 3 Part B: 1
- Deep Casting Epoxy – Part A: 2 Part B: 1
The two parts of the mixture should be weighed and not be mixed by volume. The Epoxy comes in the form of a clear liquid with a thick consistency. This consistency differs from manufacturers and is called the viscosity.
Step 2 – Mixing by weight instead of by volume
Epoxy Resin should always be measured by weight and not by volume. The reason for this is that the Epoxy and the hardener has got different weight to volume ratios, and mixing them by volume could cause the Epoxy resin not to set properly.
If the Epoxy does not set properly, it will never become as hard as it is suppose to be. This can cause your entire project to fail. The epoxy can become sticky and damage your entire project.
Step 3 – Use the correct Mixing Ratio
When it comes to mixing epoxy resin, the most important aspect is that you get the mixing ratios right. If the mixing ratio is not correct, it can damage your entire project. Many times you will hear people say that their resin is sticky. The main reason for this “sticky epoxy resin” problem is that people use the wrong mixing ratio.
Mixing an epoxy resin recipe is no other than a recipe for baking a cake. What would happen if you bake a cake and decide that you don’t like eggs, and you are not putting eggs in your recipe. Off course the recipe will fail. It is exactly the same with mixing epoxy resin.

Each Epoxy Resin Manufacturer indicates a mixing ratio on their products. The mixing ratio for each type of epoxy resin can differ and it is important that you follow the instructions for that specific product. Epoxy Resin comes in two parts, which you mix in a container and they will have a chemical reaction that will cause the epoxy resin to harden.
Unless otherwise indicated the epoxy resin mixing ratio is always by weight and not by volume. This means that you need a scale to measure your epoxy resin. The mixture must be exact for the best results.
Step 4 – How to Calculate Epoxy Resin Mixing Ratio
First you have to determine how much Epoxy Resin you will need for your Epoxy Resin Project.
A – Determine the Volume
Before you can determine how much epoxy you will need, you have to determine the volume of the surface or object that you want to cover.

Measure the surface and height of the project as in the following example:
Length (150mm) x Width (100mm) x Height (2mm) = 30 000
Now add 10% because Epoxy is normally 10% heavier than water = 33 000
Divide by 1000 to change to grams = 33 000 div 1000 = 33 grams
B – Determine how much Epoxy to Mix
If you know that you need to mix 33 grams of Epoxy Resin, then you need to determine how much of each component do you need.
The easiest way to work this out is an formula that I teach all my students at the Epoxy Resin Workshops.
Let us say you are Working with Art Epoxy and the Mixing Ratio is Part A: 100 and Part B:60
Now add the 100 and 60 together to give you 160
Next divide the 33 grams (Total weight for the project) by 160 (The number we got from adding A and B) = 33 div 160 = 0,20625
To Determine how much Part A you need, multiply this number (0,20625) by 100 = 20,6 gram
To Determine how much Part B you need, multiply this number (0,20625) by 60 = 12,4 gram
We have QR Codes on all the Pourpoxy and Qualicast Epoxy Resin Product Labels, that will direct you to the correct page, where you can learn more about each product:

Step 5 – Choose the right Tools for Mixing the Epoxy Components
When mixing resin and hardener you should first get the correct size mixing cups. It depends on the size of your project.
For small projects I use plastic cups, for slightly bigger projects I use yoghurt containers, and for my big projects I use 5 liter or 10 liter Plastic Containers.

The containers should be very clean. Even the smallest bit of dust can mess up your Epoxy resin project. Make sure that therefore that especially the bottom of the container is wiped out properly before you start mixing epoxy resin.
I do not like expensive containers that I have to clean afterwards. It is difficult to clean epoxy resin, and therefore it is cheaper to just through away the used container rather than to try and clean the cups.
The next item that you need to mix Epoxy Resin is a stirring tool. There are different types and they are all inexpensive. For small quantities, you can use ice cream stick. You can also make up your own wooden sticks, and for larger quantities you can use a paint mixing tool, which you attach to a drill.

When using the paint mixing tool, be sure that you are not mixing too fast, as this will create more bubbles, which you will battle to get rid of later.
Step 6 – Check humidity and temperature
Before you can start mixing epoxy resin, you have to ensure that the conditions is as close to perfect.
I never mix epoxy resin when it is rainy or when there is a lot of moisture in the air. I stay next to the sea, and have never found that that the moisture from the sea cause any problem.
The temperature is also important. You don’t want it to be either too cold or too hot when mixing resin and hardener.
I have found that the ideal temperature for me to work in is between 18 degrees celcius (65 degrees Fahrenheit) and 26 degrees Celsius (80 degrees Fahrenheit).
This will however depend on your location and you should test different temperatures to see what works best for you.
Step 7 – Careful mixing of components
When it comes to mixing Epoxy Resin, you should be mindful of keeping your workplace as clean as possible. I have found that if you start spilling some epoxy on your workplace, scale or hands, it will quickly become a mess. Keep it all clean from the start. It is very hand to have a Bottle of Pourpoxy Bubble Pop Spray close, to clean your hand and equipment.
The first step is to add the A Portion to your Mixing cup and then pour the B mixture into the Mixing cup. Now slowly mix for at least two minutes. Once the two minutes is up, throw everything into another clean cup and mix for another two minutes.
You will see a lot of bubbles forming when you mix the two parts.
If you are mixing epoxy resin for Casting or deep casting purposes, spray 3 – 4 squirts of Bubble Pop Spray over the epoxy and let it rest for 10 – 15 minutes. The Bubble Pop Spray breaks the surface of the Epoxy and let most of the bubbles escape. It is extremely useful if you can start your cast while there is no bubbles in the mixture. This does not apply to Art and Table Top Epoxy resins which will be used to cast thin layers.
Step 8 – Avoid Resin sticking to the sides
When mixing epoxy resin, you should be attentive not to have resin sticking to the side of the container. This is the main reason why you have to pour the Epoxy from one container into another while mixing
Step 9 – Mixing in the Pigment
Epoxy Resin can be mixed with different types of pigments, and this is where the fun starts. It is so satisfying to start mixing colors, and to create things you never thought you could.
You should however use high quality Epoxy Pigments. There are many epoxy resin pigments on the market. I have found that it is much better to buy a set of high quality Epoxy Pigments once. They last very long, and if you have enough pigments to your disposal to use, it makes everything so much better.

There are many types of Epoxy Pigments like Liquid Paste Pigments, Transparent Epoxy Pigments, Epoxy Metallic Pigments etc.., but we will discuss those in another article.
Once your resin has been mixed, you can add the pigment and then stir well until all the pigment is dissolved. Some pigment will never dry, and if they are not properly mixed in, you will wet spots of pigment in your workpiece.
Only use as much pigment as you need to achieve the desired color. The overuse of pigment will damage your project. Make sure you mix it thoroughly to ensure that the epoxy curing will happen smoothly.
The mixed resin and pigments can either be used separately or you can pour them all in one cup, to create a dirty pour.
Step 10 – Cleaning the Epoxy Epoxy Equipment
Cleaning epoxy resin is made much easier if you have Pourpoxy Bubble Pop Spray available. It comes in a handy container that allows you to spray easily. Wipe it of with a Paper towel.
You can also use Acetone to clean epoxy resin from your equipment and hands.
Step 11 – Avoid Remixing resin and hardener
Never mix Epoxy Resin in a container that has half dried epoxy or epoxy that has been standing for a while. Always use a clean container. You might think thank the used container is ok, but the chemical reaction will easily damage your epoxy or project.
9 Factors to consider when mixing Epoxy Resin
Use only compatible Resins
Resin and Hardener are chemicals and they can react in ways that you do not expect. Never mix different brands or even different products from the same supplier together. Ma sure you know which resin you need for your project and stick with that.
Viscosity
Resin Viscosity is the thickness of the Resin. Different thicknesses are used for different applications, and manufacturers determine the viscosity of the resin on purpose to ensure flow thickness.
Qualicast Epoxy for instance has a much higher viscosity than Pourpoxy. The Viscosity that you require depends on the type of project that you have.
When Casting Epoxy in River Tables with Casting and Deep Casting Epoxy, you require much lower viscosity than when doing a Counter Top.
Never add Water to the Epoxy Resin
Water and Resin does not go together, never use water in Epoxy and don’t try and clean epoxy with water and soap. This is also why chemicals like paraffin, thinners and benzine can not be used to clean epoxy resin.
Only use high-quality Epoxy Resins
I can not stress the importance of using high quality epoxy resin enough. When you use low quality resins, you will experience all sorts of problems, like discoloring, not setting properly and especially lots of bubbles.
Epoxy resin and hardener is very expensive, and going for the better quality products will save you money and trouble in the long run.
Use only compatible colors
Not all pigments and paints are compatible with Epoxy Resin. Unfortunately you only find that out once you have mixed it. Make sure you buy High Quality Epoxy Pigments from the start.